
This is how we brew it
In the ‘Mashing’ instalment of the ‘How to All Grain Homebrew Series’, Ben mentioned the Brew In A Bag method of mashing. Well I’m Ben’s friend, Sean, I brew in a bag, and I’m gunna tell you how!
If you haven’t already read the Mashing post, read that first. Also, if you haven’t seen the Bad Lip Reading channel on YouTube, you should watch that too. It is not relevant, but it is hilarious.
Brew In A Bag (commonly abbreviated to BIAB) generally means mashing the grain in the same pot that you will be boiling in, using a fine meshed bag to allow you to remove the grain and leave the extracted liquid (wort) behind. It is also possible to use an electric hot water urn rather than a pot and gas burner, but the principles are the same and I don’t feel qualified to nit-pick at any differences between the two methods.
The type of bag to use is sold at most home brew shops, or you can fashion your own using ‘Swiss Voile’ fabric from a store such as Spotlight. The bag needs to be approximately the same size as your pot, and slightly taller so it can fold over the rim and not fall in.
As in a traditional mash, you will first need to heat your water to ‘strike’ temperature (which should be in the recipe, or if not, google “strike temperature calculator”). It’s generally best not to have the bag inside the pot while you have the burner on, as the bottom can get scorched. This can be avoided by placing some sort of false bottom in your pot, such as a colander, cake rack or perhaps something that won’t get you in trouble with your other half.
Once at strike temperature, pop your bag inside the pot, ensuring the lip can’t fall in, then add in your crushed grain.

As in a traditional mash, stir to avoid dough-balls, then put the lid on and insulate with that over-sized sweater your weird aunt knitted for you when she was going through that hipster craft phase. But seriously, use whatever insulation you can, as BIAB is more susceptible to losing heat during the mash, since the pot is poorly insulated compared to using an esky or other permanent, single-purpose vessel dedicated to mashing.
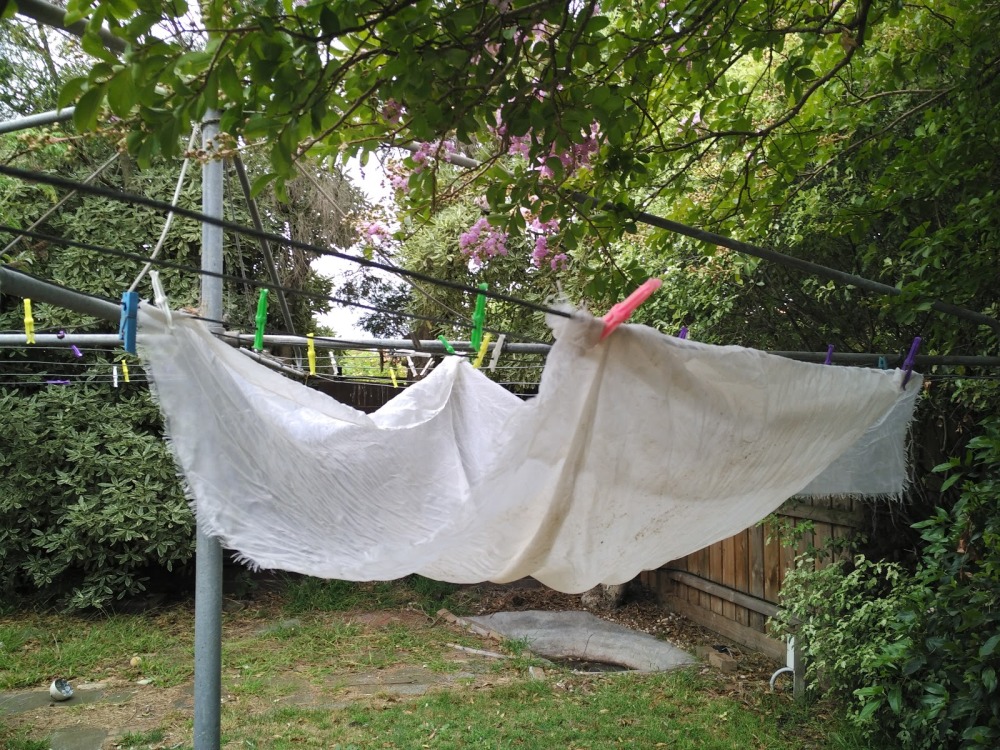
Then just wait 60 minutes for your mash to complete… Here’s one we prepared earlier!

There’s a kettle under there somewhere!
Remove your grains by lifting out the bag. It will be heavier as the grain retains a lot of water. As you remove the bag you’ll notice how much less water is in the pot, and that there’s a ton of liquid still coming out of the bag slowly.
Here’s where you can exercise some creative engineering. There is still some sugary liquid trapped in the grains, just waiting to become beer. How best to get it out?
Well some folks hoist their bag above the kettle to let it continue to drain while their wort is heating up towards boiling temperature.
Some will do a ‘dunk sparge’ by plonking their bag in a bucket or second pot, then adding pseudo-sparge water—at about 75c— then remove the bag again, let it drain, and pour the runnings into the main kettle.
Others will not worry about it, squeezing out as much liquid as they can can be bothered with, and simply account for the lost wort by using more grain and water in the first place.
Either way, knowing how much liquid you will lose, and how much you might add in your side-pot is important to think about.
Personally, I do a dunk sparge, followed by a hoist above my bucket while the kettle reaches a boil.

Necessity is the mother of invention, and beer is a necessity.
As a guide: I tend to initially lose around 5L of water into the grain. About one litre drains out pretty quickly, then I add as much water as I know I will need to top my kettle back up to the correct pre-boil volume. Others with a larger kettle might well approach this differently, but for me it’s a good way to get some extra sugar out of the grain, while dealing with my pot’s limitations (which is only 28L).
At this point, we have our sugars extracted and our kettle approaching a boil, so we can join back up with the traditional mashers since the brewing process is the same from now on.
But, of course, no brew day is ever the same! Hahaha.

But wait, how do I decide whether I should adopt the BIAB way of life, or use a traditional, separate mash process?
Well Timmy, the answer is easy. BIAB’ers are handsome and great in bed, and traditional brewers are stinky and stupid. Actually that is a bit misleading: Ben is alright in the sack, even if he does smell.
Here are some of the other differences:
- BIAB might require a bigger pot as your grain needs room too. (Not that much, though.)
- Traditional mashing needs a whole separate vessel!
- BIAB tends to be less efficient at extracting sugars. I.e. needs more grain to achieve the same strength of beer.
- Traditional mashing is prone to ‘stuck sparges’, where your liquid won’t drain properly.
- BIAB requires more moving things around
- Traditional mashing lends itself to a more permanently structured setup.
- BIAB needs more insulation to sustain mash temperature.
- Traditional mashing requires a sparge step.
- BIAB process can skip sparging entirely, or use a shorter sparge step while your kettle is heating towards a boil.
- In traditional mashing, you need to clean another vessel.
- BIAB just requires rinsing the bag afterwards.
- Traditional mashing produces clearer wort.
- BIAB does not filter as many small particles, leaving cloudy wort which may require more finings (clarifying agents).
But most importantly:
- Familiarity with BIAB style mashing will be more useful when you need to brew up some hooch in the big-house.
For me, the answer came down to: less equipment required = lower barrier to entry, and less storage space needed. And with BIAB I’ve stayed, as I’m happy with my process and with my beer.
I never even sewed my swiss voile into a bag. Sometimes I think I should… then I brew more delicious beer instead.
If you are reading this and considering joining the com-brew-nity, I hope this has been illuminating and has helped you decide which method might suit you.

Thanks again Sean and great to see you finally found a use for that bench press 😉
LikeLike